In visual studio 2012 there are toolbox for WPF.There are several controls. At first let's get acquainted with them.
1. Pointer:
If you select a control it is attached with mouse. If you click your form then it will be dropped there. But if you click this "Pointer" control before clicking forms then nothing will be dropped on forms upon clicking it.
2. Border:
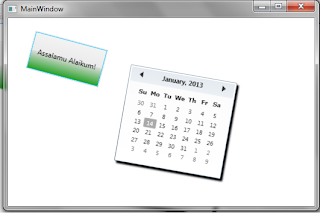
 We can place a "Border" control to define a boundary. Example is shown below: Both item is "Border". First one is customized and the second one is intact.
 In the side picture we see that If we rotate a "Border" control then all of it's contained items are get rotated also. Very Good!!
3. "Button":
This control can be fully customized and can be controlled by touch,mouse or key board.
4. "Calender":
4. "Canvas":
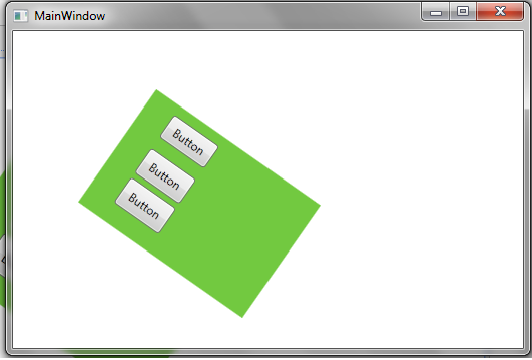
 The Green part is a "Canvas". It can be customized (rotated etc.). When we apply a transform it will take effect same on it's contained elements.
 If we make this canvas hidden then with all of its elements it gets hidden.
5. "CheckBox":
Normal Concept.
6. "ComboBox:"
Normal Concept.
7. "ContentControl:"
Normal Concept.
8. "DataGrid":
Normal Concept. Deatils can be found here.
9. "DatePicker:"
Normal Concept.
10. "DockPanel:"
Normal Concept. Details are here.
1. Pointer:
If you select a control it is attached with mouse. If you click your form then it will be dropped there. But if you click this "Pointer" control before clicking forms then nothing will be dropped on forms upon clicking it.
2. Border:


3. "Button":
This control can be fully customized and can be controlled by touch,mouse or key board.
4. "Calender":

4. "Canvas":
5. "CheckBox":
Normal Concept.
6. "ComboBox:"
Normal Concept.
7. "ContentControl:"
Normal Concept.
8. "DataGrid":
Normal Concept. Deatils can be found here.
9. "DatePicker:"
Normal Concept.
10. "DockPanel:"
Normal Concept. Details are here.
11. "DocumentViewer":
Normal Concept. Details are here and here.
12. "Ellipse:"
Normal Concept.
13. "Expander:"
Normal Concept. Details are here.
14. "Frame":
Very good idea!. Can display another window's content. But can't display html content. Details can be found here.
Normal Concept. Details are here and here.
12. "Ellipse:"
Normal Concept.
13. "Expander:"
Normal Concept. Details are here.
14. "Frame":
Very good idea!. Can display another window's content. But can't display html content. Details can be found here.
No comments:
Post a Comment